DE | EN

Field guide

Espresso

/esˈprɛso/

"A concentrated coffee preparation created by forcing hot water through finely ground coffee under pressure."

This page walks you step by step through the preparation of a good espresso and classic milk drinks. It shows how knowledge, craft, and feel come together so a shot lands balanced and clear in the cup.

Step 01

The Foundation

Before grinding a single bean, the machine must be prepared. Thermal stability is paramount; cold metal will instantly strip heat from the brewing water, resulting in sour, under-extracted coffee.

Step 02 & 03

Dialing In & Extraction

Coffee must be ground to the right particle size so water under pressure flows neither too fast nor too slow through the puck. The relationship between grind size and flow shapes how an espresso tastes.

Single Espresso Target

20 ml in 20s

Double Espresso Target

40 ml in 20s

Grind Size Simulator

Adjust the grind size and watch how the shot changes. If the grind is too coarse, water runs too fast. If it is too fine, the shot is held back. You can also adjust the dose slightly when an espresso runs too fast or too slow. The important part is to change only one variable at a time: either grind size or dose.

Fine (Slow) Ideal Coarse (Fast)

Medium-Fine

Time 0.0s
Yield 0 ml

Select grind size and begin extraction to see results.

Tamping

One clean tamp

Tamping happens once the grounds are evenly distributed and just before the shot begins. A small dosing funnel keeps the station cleaner, and a coffee leveler can help make prep more repeatable before the tamper ever touches the puck. The goal is not maximum force, but a flat, repeatable coffee bed that lets water pass through as evenly as possible.

  • Pressure A firm tamp is enough. As a training cue, many baristas think in roughly 20-30 lb / 9-14 kg, but exact force matters less once the puck is fully compressed.
  • Level Keep the tamper level and let the face land flat. A tilted surface gives water an easier path on one side and makes the shot less even.
  • Evenness Tamping cannot rescue poor distribution. Break up clumps first, settle the grounds, use a coffee leveler if it helps, then tamp once with the same calm motion each time.
Pressure 25 lb
Surface Flat

The goal is a firm, repeatable tamp. Stop once the coffee bed feels set, then try to keep the motion the same each time.

Extraction phases

What dissolves when

The phases below show, in simplified form, how an espresso changes as extraction progresses.

0-8 s

Opening

Brighter organic acids, volatile aromatics, and some caffeine show up first. The stream may look blond early, and the body is still relatively light.
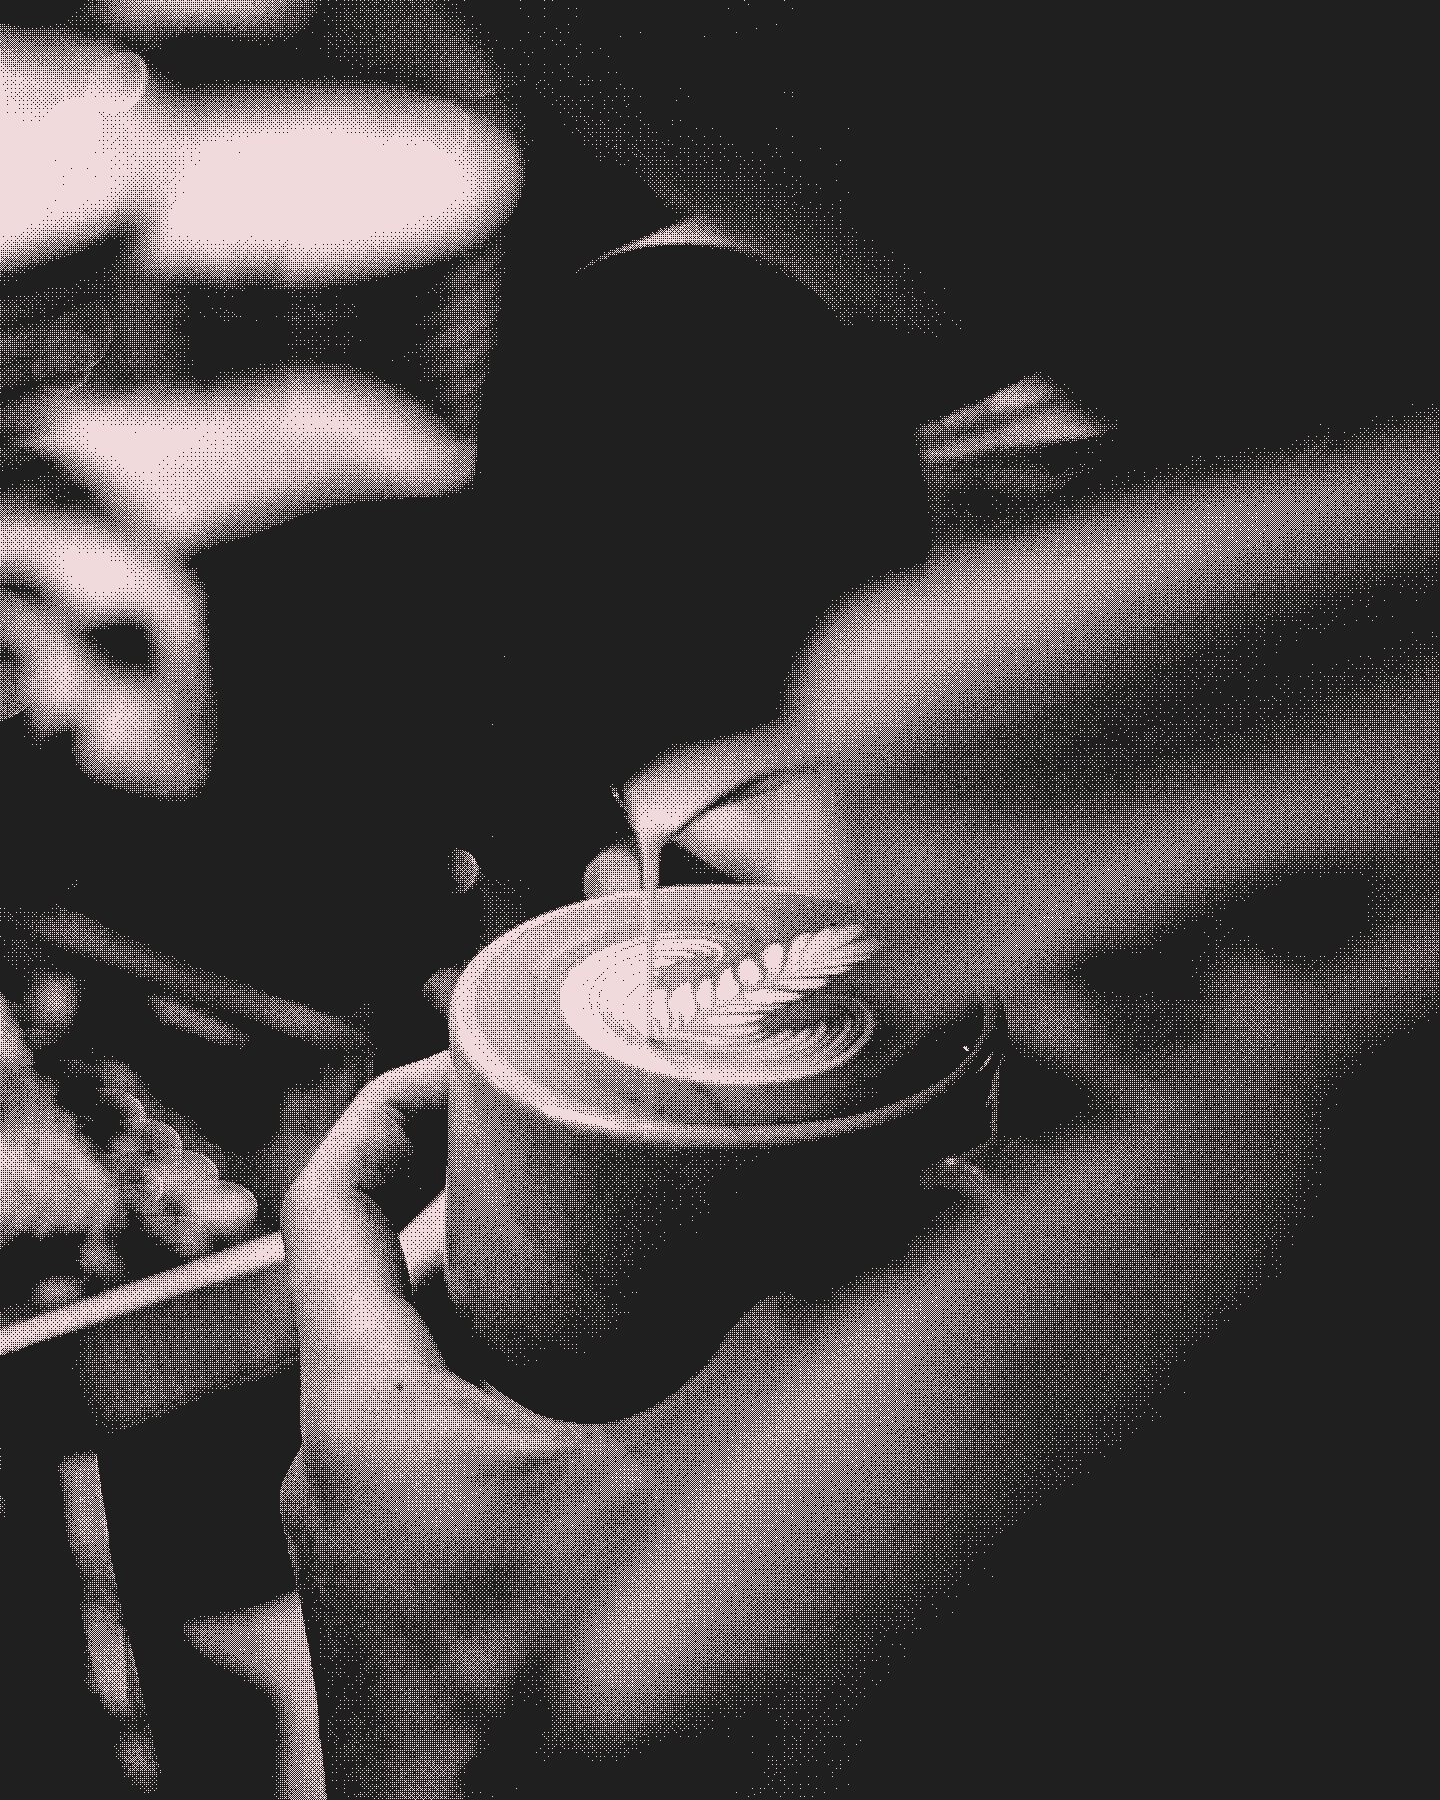
In the cup

If most of the shot lives here, the espresso often tastes sharp, sour, narrow, or a little hollow through the middle.

What to do

Slow the shot down slightly. A finer grind, cleaner puck prep, or slightly tighter yield control usually helps sweetness arrive sooner.

8-18 s

Core

Sugars, roast-developed sweetness, dissolved solids, and emulsified oils build the dense center of the shot. This is usually where texture and balance feel most complete.

In the cup

Sweetness and body feel settled here. The espresso reads rounder, calmer, and more integrated from front palate to finish.

What to do

This is the zone to aim for. If the shot races past it, tighten the grind; if it only arrives very late, open the grind a touch.

18-30 s

Tail

Later extraction pulls more bitter, woody, and drying material. Weight can increase, but clarity and sweetness usually start to fade.

In the cup

If the shot spends too much time here, the finish often turns heavy, bitter, papery, or drying rather than clean and sweet.

What to do

Stop the shot slightly earlier or let the flow breathe more freely. A slightly coarser grind often brings the finish back into balance.

Step 04

Post-Extraction Ritual

A good barista leaves the machine ready for the next shot straight away. Coffee oils burn onto hot metal surfaces very quickly.

delete

Knock out the puck

Remove spent grounds immediately while they are solid.

cleaning_services

Wipe basket clean

Use a dry cloth to remove moisture and stray particles.

water_drop

Flush group head

Run hot water briefly to dislodge coffee stuck to the screen.

lock

Lock in loosely

Keep the portafilter hot, but don't compress the rubber gasket.

Milk

Creating Microfoam

The goal is silky, sweet milk, not large, dry bubbles. It is best to start with cold milk, because it gives you more time for stretching and texturing. Microfoam is created in three distinct, rapid phases. Milk must not become too hot (above 65°C / 150°F), or proteins denature and sweetness is lost.

1. Stretching

Air is introduced at the very beginning by keeping the steam tip near the surface. You should hear a controlled, rhythmic "paper-tearing" sound.

2. Texturing

Submerge the tip slightly and tilt the pitcher. The milk begins to spin rapidly in a vortex, breaking large bubbles into invisible microfoam.

3. Finishing

Turn off the steam while the milk is still spinning. The final result should look like wet paint—glossy, smooth, and perfectly integrated.

Latte Art

The Pour

Latte art emerges from timing, flow, and a steady hand. More than anything, it takes time, practice, and the patience not to give up too early.

Integrate the Base

Start pouring from a few inches above the cup. The milk dives beneath the espresso crema, mixing the flavors and creating a dark, even canvas.

Drop the Pitcher

Once the cup is roughly half full, bring the spout down close to the surface so the foam can begin drawing rather than disappearing below.

Shape the Pattern

A slightly faster flow pushes the white microfoam outward, allowing simple hearts, tulips, and other beginner forms to develop.

Pull Through

Lift slightly to thin the stream, then cut through the center in one clean motion to finish the shape with clarity.

Barista pouring rosetta latte art into a cup
Knowledge

The Beans

Roast profile and processing matter, but the foundation of espresso begins with the botanical species of the bean.

eco

Arabica

Arabica is usually grown at higher altitudes and makes up most specialty coffee. It is harder to cultivate, but often rewards that effort with layered flavor.

  • Sweeter, softer taste
  • Tones of fruit, floral, and sugar
  • Higher acidity, lower caffeine
bolt

Robusta

Robusta is hardier, often grown at lower altitudes, and has long been used in traditional Italian espresso blends to add body and crema stability.

  • Stronger, harsher, more bitter
  • Earthy, woody, or nutty tones
  • Lower acidity, roughly double the caffeine